
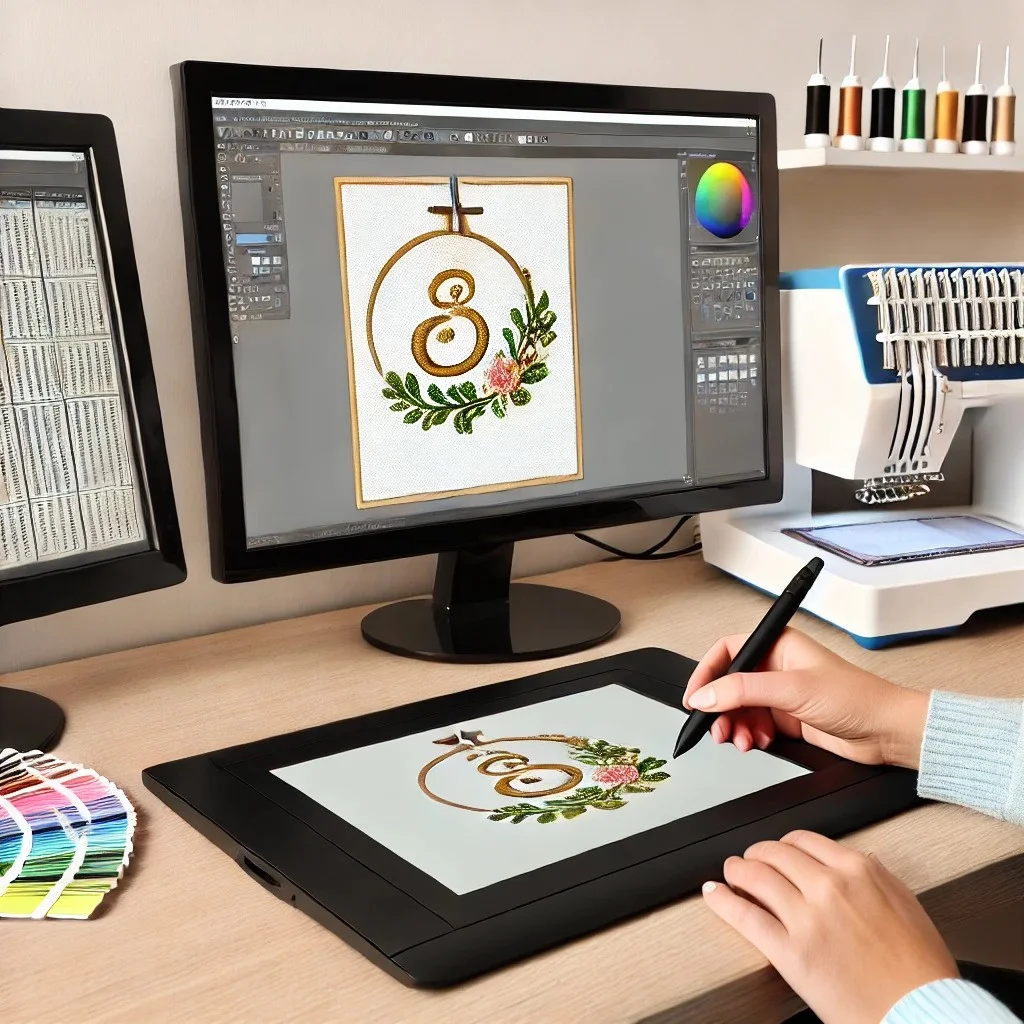
Introduction
You’ve spent hours tweaking your embroidery design, but no matter what you try, the stitches just don’t look right. Maybe the edges are jagged, the fabric keeps puckering, or the thread breaks constantly. Sound familiar? While DIY digitizing can work for simple projects, some situations scream “call in the pros.” Here are five undeniable signs you need professional embroidery digitizing services – and how making the switch can save you time, money, and frustration.
1. Your Embroidery Machine Keeps Breaking Threads
Why It Happens
Thread breaks usually stem from:
- Poor stitch path planning
- Incorrect tension settings in the digitized file
- Too many abrupt direction changes
How Pros Fix It
Professional digitizers:
✔ Optimize stitch flow to minimize sharp turns
✔ Balance stitch density for your specific thread
✔ Add proper underlay stitches for stability
Real Example: A bakery’s logo had 12 thread breaks per cap until a pro redesigned the stitch path, reducing breaks to zero.
2. Fabric Puckers No Matter What You Try
Common Causes
- Excessive stitch density
- Wrong underlay type
- Ignoring fabric stretch characteristics
Professional Solutions
- Reduce stitches per square millimeter
- Use appropriate underlay (zigzag for knits, edge walk for wovens)
- Digitize differently for each fabric type
Pro Tip: High-quality digitizing accounts for whether you’re stitching on:
- Stretchy polos
- Stiff caps
- Thick jackets
3. Small Details Disappear When Stitched
The Frustration
Intricate design elements like:
- Thin text (under 0.2” tall)
- Delicate curves
- Tiny logos
…turn into blurry messes
How Experts Handle It
- Simplify while preserving design intent
- Adjust stitch types for clarity
- Sometimes recommend redesigning for embroidery
Case Study: A law firm’s intricate crest lost all detail at 1.5” width until digitized with specialty micro-stitching techniques.
4. You’re Spending More Time Fixing Than Stitching
The Time Sink
Typical DIY struggles:
- 3+ test stitches per design
- Constant software tweaks
- Production delays
Professional Advantage
- Right the first time files
- Typically 24-48 hour turnaround
- Free revisions if needed
Cost Comparison:
| Scenario | DIY Time | Pro Cost |
|---|---|---|
| 5 designs | 15 hours | $150-$250 |
| 20 designs | 60 hours | $400-$600 |
5. Customers Are Complaining About Quality
Business Risks
Poor embroidery leads to:
- Negative brand perception
- Product returns
- Lost repeat business
Professional Results Get You:
- Consistent, store-quality products
- Happy repeat customers
- Ability to charge premium prices
Real Impact: A merch company increased repeat orders by 40% after upgrading to professional digitizing.
How to Choose the Right Digitizing Service
Look For:
✅ Portfolio with similar projects
✅ Specific fabric expertise
✅ Clear revision policies
✅ Good communication
Red Flags:
❌ “$5 special” pricing
❌ No sample work shown
❌ Vague turnaround times
DIY vs Pro Decision Guide
Stick With DIY If:
- Doing one-off personal projects
- Working with very simple designs
- Enjoy the learning process
Go Pro When:
- Selling products commercially
- Using expensive materials
- Needing consistent quality
- Short on time
What to Expect From Professional Services
Typical Process:
- You send artwork + specs
- They digitize (24-48 hours)
- You receive machine-ready files
- Test stitch and request tweaks if needed
Average Costs:
- Simple logos: $15-$35
- Complex designs: $50-$150
- 3D puff/sequins: $75-$200
Conclusion
Recognizing when to call in professional digitizing saves you from:
✔ Wasted materials
✔ Lost production time
✔ Customer complaints
✔ Brand damage
The five signs never to ignore:
- Constant thread breaks
- Unfixable puckering
- Disappearing details
- Endless tweaking
- Customer quality complaints
Professional digitizing isn’t an expense – it’s an investment in your embroidery success. When you see these signs, it’s time to partner with experts who can make your designs stitch perfectly every time.